Simplify Sprinkler Installation with These 3 Easy Steps
Installing a sprinkler system can greatly simplify the task of watering your lawn and garden, ensuring proper hydration for healthy and vibrant plants. While the process may seem daunting, breaking it down into simple steps can make sprinkler installation a breeze.
Simplify Sprinkler Installation with These 3 Easy Steps
In this article, we will guide you through three easy steps to simplify the process and help you achieve an efficient and effective sprinkler system for your property.
- Step 1: Plan and Design
Before diving into the installation process, it's crucial to plan and design your sprinkler system. Start by assessing your landscape's unique needs, considering factors such as the size and shape of the area, water requirements of different plants, and any existing features or obstacles. Sketch a layout of your property, marking areas that need irrigation and potential water sources.
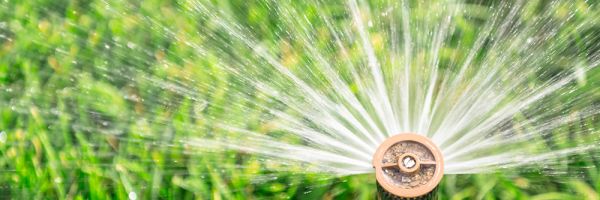
Next, determine the type of sprinkler system that best suits your needs, such as spray heads, rotor heads, or drip irrigation. Consider factors like water pressure, coverage area, and the specific watering requirements of your plants. Mapping out your system and selecting the right components will ensure optimal water distribution and prevent overwatering or underwatering.
- Step 2: Gather Materials and Tools
Once you have your plan in place, gather all the necessary materials and tools for the installation. This may include sprinkler heads, valves, piping, fittings, timers or controllers, and backflow preventers. Ensure that you have the correct measurements for the piping and fittings to ensure a proper fit.
Additionally, gather the necessary tools, such as a trenching shovel, pipe cutter, pipe glue, and a tape measure. Having all the materials and tools ready beforehand will streamline the installation process and prevent delays.
- Step 3: Installation and Testing
With your plan and materials in hand, it's time to begin the installation process. Start by marking the areas where you will dig trenches for the pipes. Use a trenching shovel to create trenches of the appropriate depth and width, ensuring proper placement of the pipes and avoiding any interference with other utilities.
Carefully lay out the pipes according to your design, connecting them using the appropriate fittings. Install the sprinkler heads at strategic locations, ensuring proper coverage for your landscape. Once the system is in place, test it thoroughly to identify any leaks or issues. Adjust the sprinkler heads as needed to ensure even water distribution.
Conclusion:
By following these three easy steps - planning and designing, gathering materials and tools, and installation and testing - you can simplify the process of sprinkler installation. Remember to consider the specific needs of your landscape, select the appropriate components, and test the system thoroughly to ensure optimal performance.
If you require expert assistance with your sprinkler installation, Rain Day Irrigation is here to help. Our team of professionals has the knowledge and experience to design and install sprinkler systems that meet your unique requirements. Enjoy the convenience and efficiency of a well-designed sprinkler system, and let Rain Day Irrigation transform your watering routine into a hassle-free experience.
For the best Irrigation service in Sugar Land, TX, contact us today. Our team of experts will work with you every step of the way to ensure that your system is installed correctly and efficiently. Call now at (832) 209-2254 for a free estimate!


